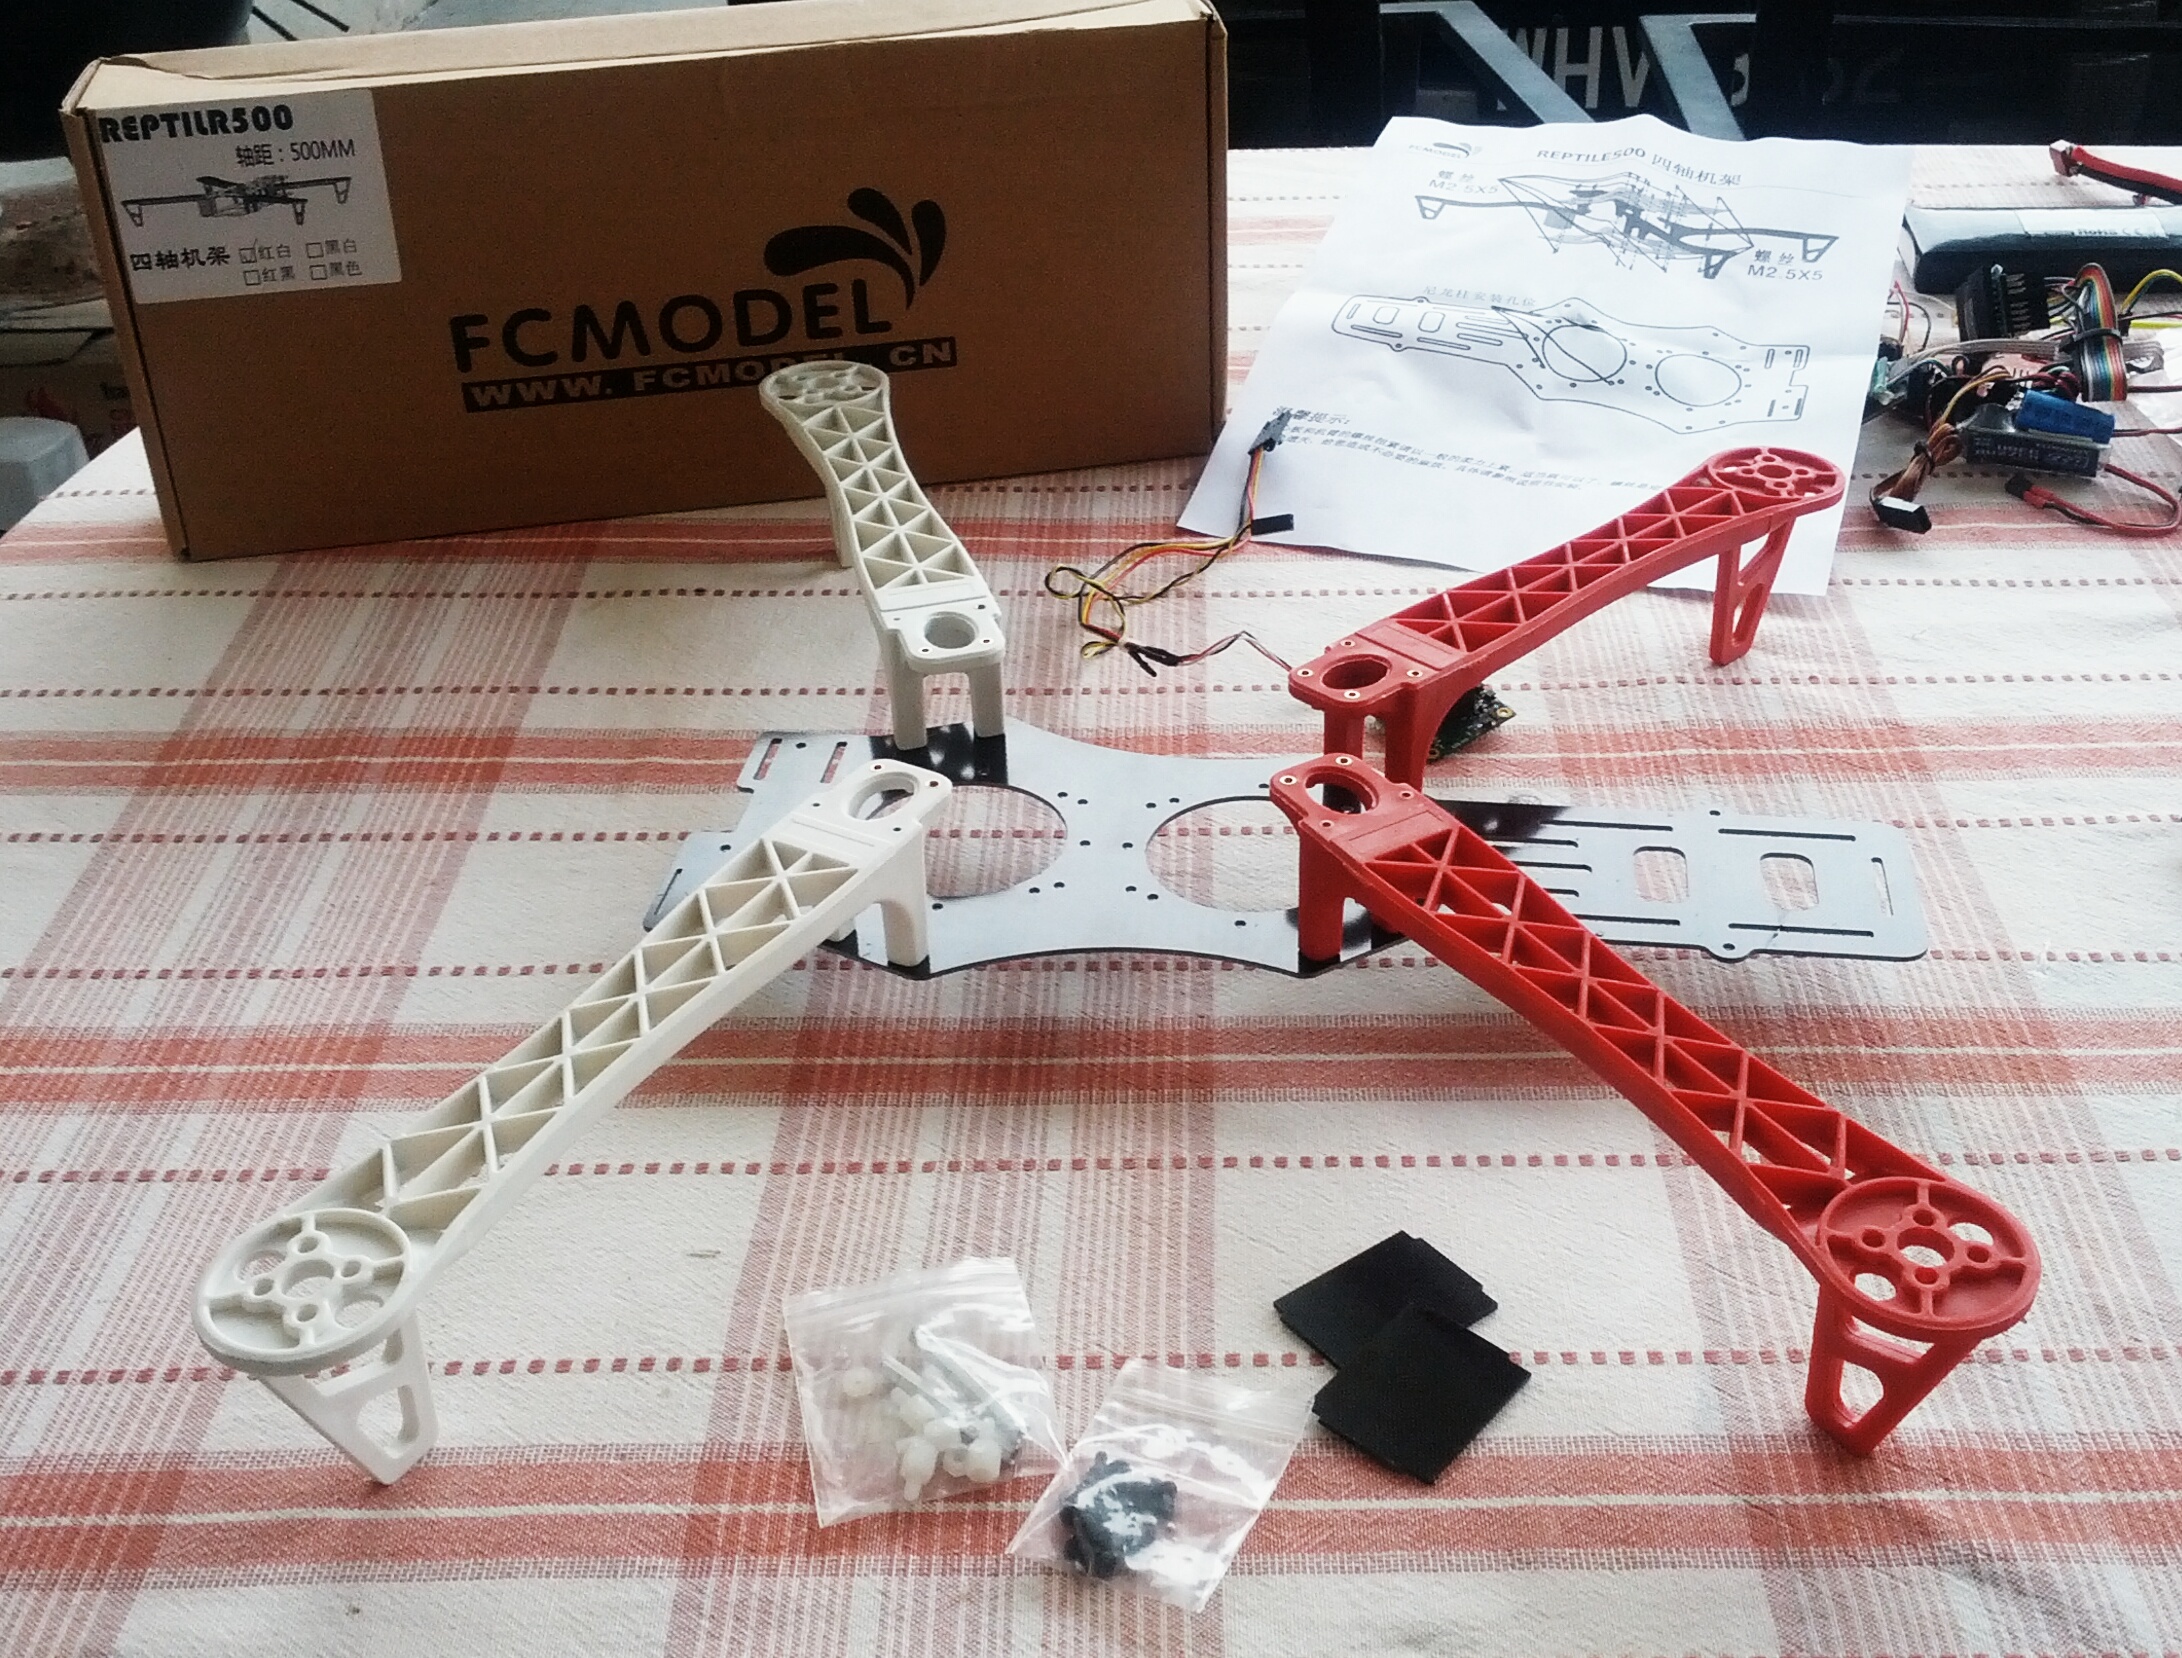
 I finally completed my project with the Reptile500 frame, ordered from Himodel. The same frame is also available from Hobbyking, when its not on backorder. It doesnt come with lots of accessories. Just a set of screws, for arms, top/bottom plate and two small fiber glass plates for the camera. In one you would drill a hole for the lens and on the other you would mount the camera. My CCTV camera was slightly wider than the provided plates.
My plan to use the 9×5 GEMFAN carbon fiber props on this frame did not work out. With motor at about 1000KV, they are not producing enough lift for the frame, with all the FPV equipment on it. I had to move to 10×4.5 props, the same I used with the X550 quad.
To shift the whole gear (exception motors) from the X550 to this frame had two main goals:
1) Have more space for all the FPV stuff and get it all more tidy.
2) No more props in view of the camera.
3) Get rid of the additional 500mAh LiPo I have been using for the VTX and camera
I was also hoping for a better feel, when flying the quad. The x550 is sort of bulky and big. With this TBS Discovery style layout, the aircraft is not so wide and longer. Leaving me less worried, when flying through narrow passages somewhere close to the ground.
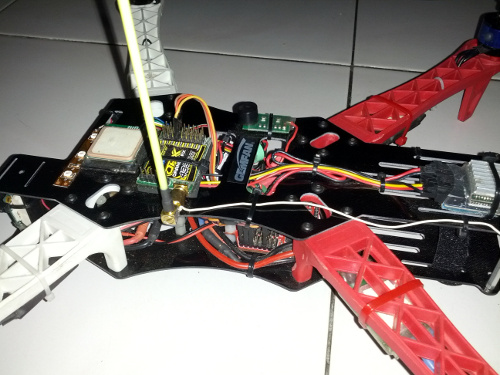
 At least for 2)and 3) I can report success. I built my own little LC filter fo have noise free power supply for the Camera, its visible in the picture to the left.
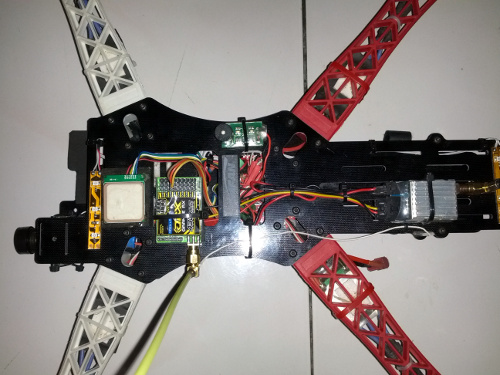
But the space inside of the quad is quite limited. I was forced to put the receiver and video transmitter on the top plate of the quad. I struggled to cram in the power distribution, LC Filter, MinimOSD, UBEC, Capacitor and finally the HK MultiWii Pro flight controller. I built a small plywood plate as a top cover for the power distribution. In that space I moved the UBEC, MinimOSD and LC Filter. Its really packed.
Another problem is, that every time I need to change the settings on my OSD or just need to check something, I have to lift the top plate. Its secured with 18 screws, so it takes time to get there. But I dont want to complain to much. Overall I am more happy now, than I was before. Another advantage is, that I have two cameras now. One board camera and an unreliable GoPro Hero 3 just for recording.
After finishing the build, I struggled to get it flying well. Due to this V motor layout, the PIDs on roll and pitch have to be different. Something I was not happy about, when figuring out. For the version 2.8.1 of MegapirateNG, there was no layout for quads other than X or +. I quickly learned that this was added from 2.9 onwards. Not happy about being forced to update, I updated my flight controller to MegaPirateNG 3.0.1R3. This sorted out the issue, as I was able to switch to V layout. I also sorted out two other long term issues where I report more in detail about in another blog post. But it was about battery voltage and RSSI. Two things I missed as FPV flyer and it seemed there was not really an easy solution for it, when using this particular board. Well now I got both and that makes me really happy.
One thing I noticed is, that vibrations on this frame are a lot bigger issue. On my X550 the GoPro would record jello free footage. Here I am still struggling, despite balancing motors and propellers. Better propellers might help a little bit more… Also additional dampening for the GoPro. But overall a success and I am happy with the outcome.
Here is the configuration of the quad:
- Reptile500 V2 Frame (V3 comes with a free crab style landing gear, which is optional)
- KDA 20-28M 1050KV motors (aka Hacker Style for $9.95 fom Hobbyking but not sold anymore)
- 18A HK SS ESCs (flashed with SimonK)
- 10×4.5 props
- Power Distribution Board
- HK MultiWii Pro Flight Controller with GPS
- MinimOSD (flashed with MinimOSD-Extra)
- OrangeRX 433Mhz receiver with DIY Sander Style antenna and OpenLRS